
AI Background Remover: Paint Over What You Want to Keep
Upload a photo, paint over the subject, and the AI cuts it out and hands it back as a transparent-background PNG. Results usually take 30 to 60 seconds.
Upload Your Image
Drag and drop your image here, or click to browse
Supports PNG, JPG, JPEG, WebP (max 5MB)
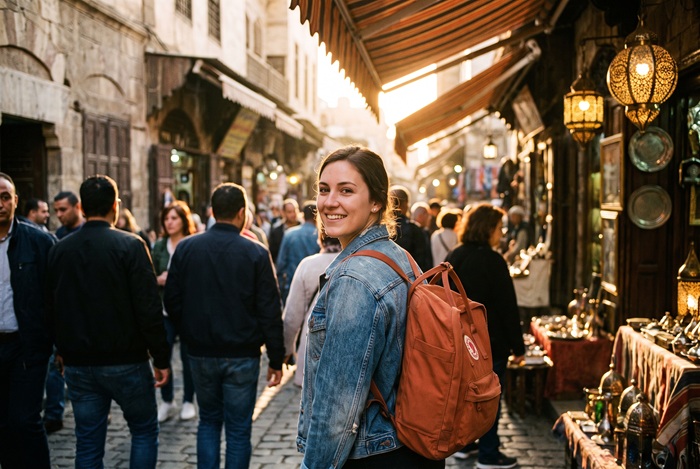 Original
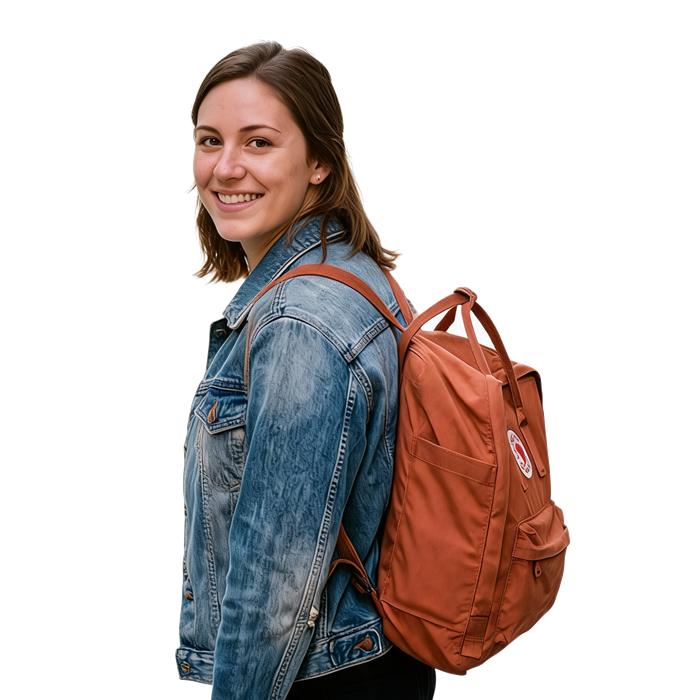 Transparent
HOW IT WORKS
From full photo to transparent cutout in three steps
There is nothing to install: the tool works in any browser, and the images are processed on our servers. You decide what stays, and everything else goes.
- 01
Upload your photo
Drag a PNG, JPG or WebP file onto the panel, or click to browse. Files up to 5MB are accepted, and a sharp original gives cleaner edges.
- 02
Paint over what you want to keep
Brush over the subject, covering it completely up to the edges. The marks do not need to be precise, the model finds the boundaries itself. Adjust the brush size for fine areas, and undo or clear at any time.
- 03
Generate and download
Sign in and generate. Most results are ready in 30 to 60 seconds. Compare the cutout with the original, then download the transparent PNG.
SAMPLES
What background removal looks like in practice
Each pair shows the original photo and the transparent-background result side by side. Every result was produced from the original by the model, with no manual retouching.
 Original
 Transparent
 Original
 Transparent
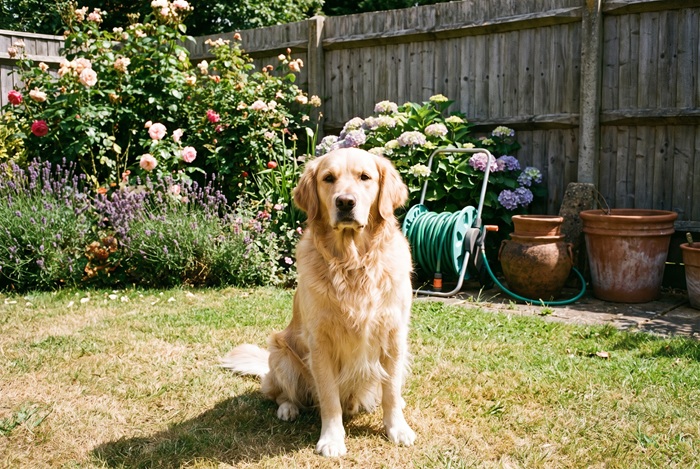 Original
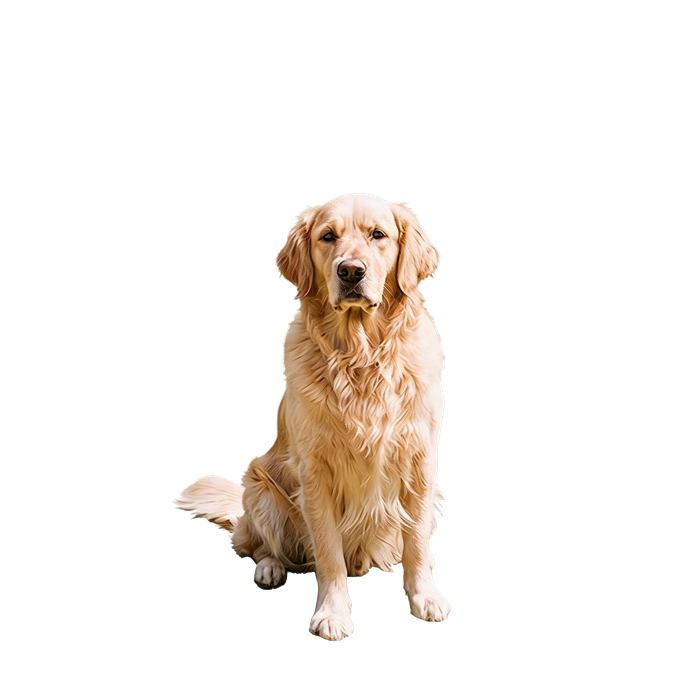 Transparent
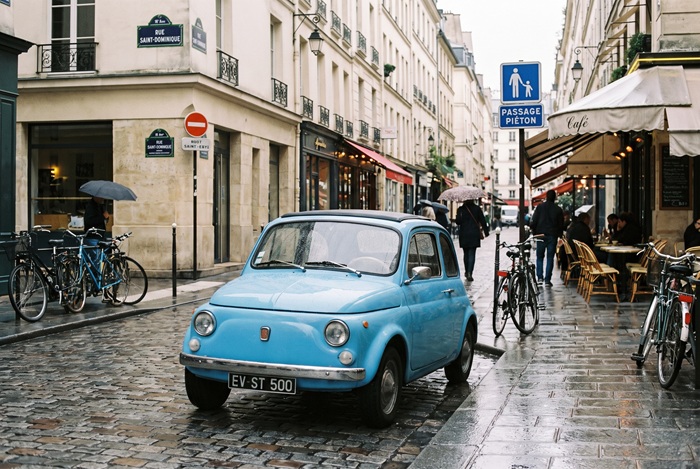 Original
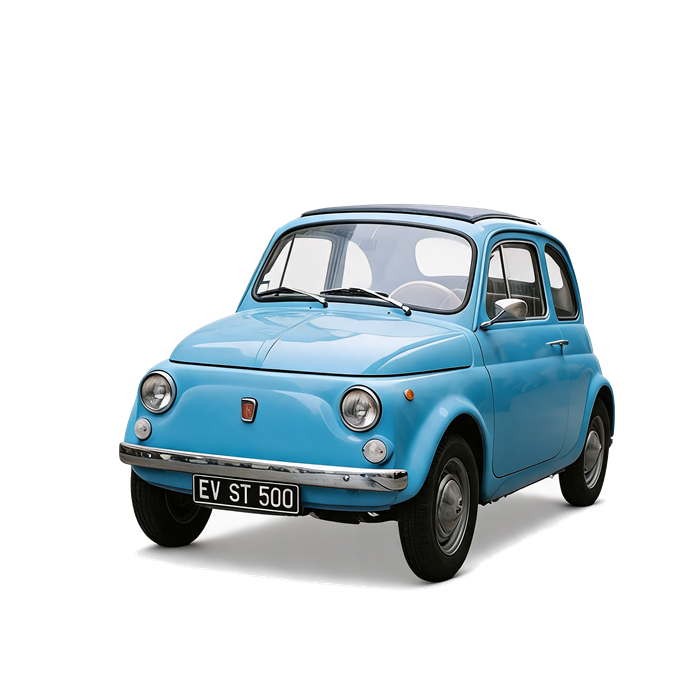 Transparent
FEATURES
What the remover does for you
You mark what should stay. Everything else, from edge detection to the transparent PNG, is handled for you.
You mark what stays
Paint a rough mark over the subject and the model takes it from there: it finds the edges, keeps the subject and drops everything else. No lasso, no path tool, no selection skills needed.
Two Seedream models
For cutout work, 5.0 Pro produces the most faithful edges at a slower pace, while 5.0 Lite balances speed and quality. If the edges look off, run the same marks through the other model.
Transparent PNG output
The result is a real transparent-background PNG, not a white background in disguise. Drop it straight into a design tool, a product listing or a presentation.
Nothing to install
There is nothing to install or update. The page works in any modern browser, and the processing runs on our servers.
Pay per result, refunded on failure
Each removal costs the credits shown before you click. If a run fails on our side, those credits return to your balance automatically.
Consistent 2K output
Results render at 2K, enough for websites, marketplaces and social media. One fixed resolution keeps the output predictable and the processing reliable.
ABOUT BACKGROUND REMOVAL
What background removal is, and what this tool does with it
A transparent cutout is one of the most reused assets in design work: product photos for a store listing, a person for a composite, a sticker for a chat app, a clean shot for a presentation. The tedious part was never deciding what to keep, it was tracing around it.
This tool works by marking. You paint over the subject, and the annotated photo goes to a generative model. The model separates the marked subject from its surroundings, and the result is saved as a transparent-background PNG.
The cutout is generated, not traced. The model redraws the boundary instead of following it pixel by pixel, so edges usually come out clean. Very fine detail like loose hair, fur, glass and smoke is harder, and deserves a check at full size before the image goes into production.
The most predictable results come from subjects that read clearly against their background. Two habits matter more than anything else: cover the whole subject right up to its edges, and paint over every part that belongs to it, including thin areas like straps, stems and hair.
TIPS
Get cleaner cutouts from your marks
How you paint the marks matters more than which button you press.
- 01
Cover the whole subject, right to the edge
Marks that stop short of the edge can cost you a sliver of the subject. Paint all the way up to the boundary so the model keeps everything that belongs.
- 02
Don't paint beyond the subject
Anything inside the marks is treated as part of the subject and kept. Stay inside the boundary, or a strip of the old background will come along in the cutout.
- 03
Mind the thin parts
Straps, stems, wires and loose hair are easy to miss with a big brush. Shrink the brush for those areas so they survive the cutout.
- 04
Clear contrast helps
A subject that stands out from its background gives the model an easier job. A white object against a white wall is the hardest case; expect to inspect those edges closely.
- 05
If the edges look off, change the model, not the mark
The two models handle boundaries differently. Before repainting your marks, try the same annotation with the other model; it often fixes a rough edge on the first retry.
- 06
Start with the least-compressed original
Photos saved from messaging apps lose fine texture around the edges. The file straight out of the camera or phone gives the cleanest cutout.
FAQ
Frequently asked questions
Which image formats can I upload?
PNG, JPG, JPEG and WebP up to 5MB. Output is always a transparent-background PNG, because PNG is the format that carries real transparency. A less compressed original gives the model cleaner edges to work with.
How precise does my marking need to be?
Rough is fine, as long as the marks cover the whole subject and stop at its edges. The model finds the boundary itself. Keep in mind that everything inside the marks is kept, so paint only on the subject.
Will the subject itself stay unchanged?
The subject is meant to look exactly as it does in your photo, and in most cases it does. Because a generative model produces the result, small shifts can happen, so check the full-size cutout before using it in production.
What resolution is the output?
Results render at 2K (around 2048 pixels on the long edge), which covers websites, marketplaces and social media. There is one fixed resolution, chosen to keep output quality and processing time predictable.
How much does one generation cost?
Each removal costs credits, and the exact amount appears next to the Remove Background button before you click, together with your remaining balance. New accounts start with free credits, so the first tries cost nothing.
What happens if a generation fails?
A failed run costs nothing: if the failure is on our side, the credits go back to your balance automatically. There is no form to fill and no support ticket to open.
Is the background really transparent, not white?
Really transparent. The PNG carries an alpha channel, so the background shows as a checkerboard in design tools and lets whatever sits behind the image show through on a web page. Some viewers display transparency as white or black, which is a display choice, not a filled background.
Are my uploaded photos private?
Photos you upload are processed to deliver and improve the service, and they are never made public. Storage and retention details are in our Privacy Policy.
Can I create NSFW or adult content on this site?
No. Generating or editing NSFW, sexually explicit, or adult content is strictly prohibited on this site, as stated in our Terms of Service. Accounts that violate this policy may be suspended or terminated.
BACKGROUND MEMBERSHIP
Remove the background without buying another pack
A monthly credit allowance renews each billing cycle for background removal and every other tool. Stay subscribed and the balance keeps coming.
Recommended
Standard Membership
$4.99/month
1,000 credits/month
For regular use, at a lower per-credit rate than packs.
Covers 35 images on 5.0 Pro, or up to 83 on 5.0 Lite
Pro Membership
$19.99/month
5,000 credits/month
For heavy use, with five times the credits each period.
Covers 178 images on 5.0 Pro, or up to 416 on 5.0 Lite
Credits stay valid while your membership is active; unused membership credits expire when the membership ends.
PRICING
Cut out more photos
Credits are shared across all tools, so the same balance covers every background you remove. Buy a one-time pack or subscribe, and credits stay in your account while it is active.
Starter Pack
100credits
$1.99
≈ 50 credits per $1
A small pack to try every model.
Covers 3 images on 5.0 Pro, or up to 8 on 5.0 Lite
Basic Pack
300credits
$4.99
≈ 60 credits per $1
A bit more room to work.
Covers 10 images on 5.0 Pro, or up to 25 on 5.0 Lite
Most popular
Standard Pack
700credits
$9.99
≈ 70 credits per $1
A comfortable allowance for regular use.
Covers 25 images on 5.0 Pro, or up to 58 on 5.0 Lite
Pro Pack
1,600credits
$19.99
≈ 80 credits per $1
The largest one-time credit allowance.
Covers 57 images on 5.0 Pro, or up to 133 on 5.0 Lite